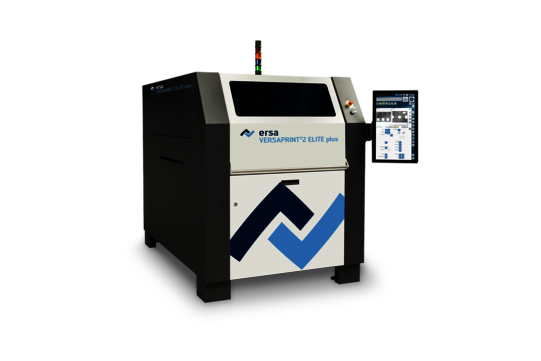
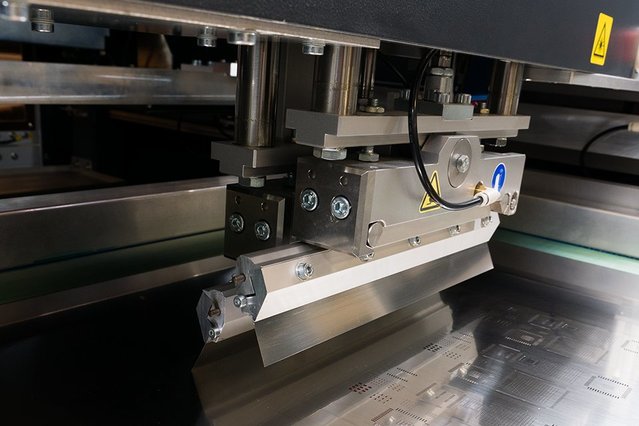
The Ersa VERSAPRINT series embodies "best in class" stencil printing: The high-end models VERSAPRINT 2 PRO² and VERSAPRINT 2 ULTRA³ offer unique advantages with fully integrated, full-surface SPI after printing at line speed. The VERSAPRINT 2 ELITE marks the entry into line production and is ideal for customers who expect perfect printing combined with an easy-to-use printer.
Stencil printer with fully integrated solder paste inspection Ersa Technology
Almost 70% of all process errors in the SMT line can be traced back to stencil printing. Most errors can be eliminated in a cost-saving manner. The Ersa VERSAPRINT 2 printers use modern camera technologies for fast set-up and full-surface solder paste inspection directly in the printer. The intuitive user interface ensures space-saving operation. With "features on demand", the VERSAPRINT 2 can be flexibly adapted to special requirements.
Highlights VERSAPRINT 2
2D-SPI directly after the printing process
- LIST camera for 100% inspection in the process cycle
- Low space requirement in the production line for printing and inspection
- Closed-loop process control for stencil printing and post-print inspection
- Simple programming and operability
- Stencil printing and SPI in one machine
3D SPI for inspecting complex boards
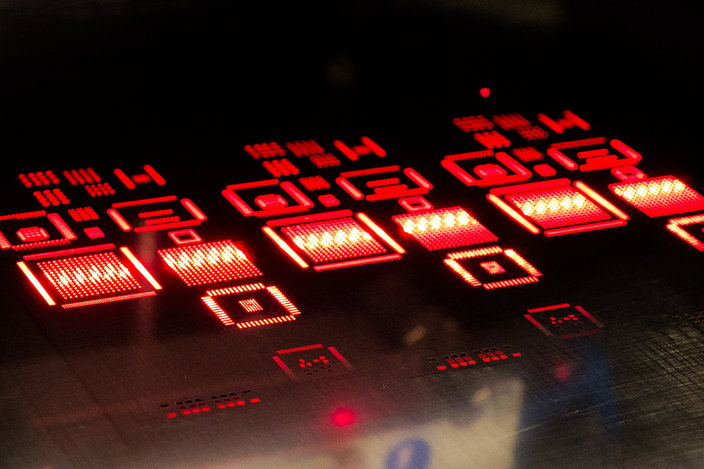
- VERSAPRINT stencil inspection detects errors before they occur
- Zero point measurement of the unprinted LP at any time before printing
- Integrated closed-loop function for print offset
- An integrated software platform for printing and inspection
- Maintenance and servicing for one machine, one AP for both processes
Optimal evaluation and data analysis
During 3D inspection, the VERSAPRINT 2 evaluates the following solder paste print characteristics: volume, area, height, short and offset. If the system detects deviations in the solder paste print from the specifications, a 2D image of the affected area is also captured for better display and analysis by the operator.
In addition, the operator can rotate and zoom in on the 3D image of the defect found as required to perform a reliable analysis. Height profiles are displayed in color-coded form. Borderline areas are colored yellow and red. The critical point for a height measurement is the definition of the zero point. At the time of measurement, the pad area representing the zero position is occupied by the solder paste. Therefore, it is common practice in today´s SPI systems to measure a limited number of unprinted boards as reference for zero determination prior to production.
When changing batches or suppliers, this usually has to be repeated. This is a major advantage of the integrated inspection in the printer: It is possible to measure every PCB before printing. In the case of very high requirements with regard to the accuracy of the result, or if there are reserves in terms of cycle time, the system can always carry out a pre-inspection. Statistic Process Control (SPC) is an important tool for continuous improvement of the manufacturing process. The SPC integrated in VERSAPRINT 2 collects all relevant process data including inspection results, provides a compact summary of the data and shows trends. This data analysis can be used at the machine for immediate optimization of the current process at the end of the line as a comparison with the AOI system or as a control tool for production management.